Garlic Growing Guide
Before we head out to the garden to see how we plant our garlic, here are the Keys To Growing Garlic:
Keep Them Cool
Garlic does best in cool conditions. This is why they are planted in the autumn and grown through winter and into spring.
In warm climates like the lower elevations of Southern California, “pre-chilling” the bulbs for a week or two might be beneficial. In our climate, we may not get enough chilling to signal to the garlic plant to complete its life cycle. Which in its hardneck lifecycle include making scapes and bulbing or heading.
To “pre-chill” or stratify the seed garlic, I place them in a refrigerator running between 38 to 40F. After a couple of weeks, the bulbs sit on the kitchen counter for about a week until planting. Furthermore, in warm climates with limited chill hours, we want to plant the garlic shallow.
Conversely in cold climates where there are freezes, garlic has to be planted before the freeze and planted deeper to insult them from the frigid temperatures.
Environmentals
In addition to cool temperatures, garlic needs full sun. Choose a location in your garden or on your property with at least 7 hours of direct sun. In urban areas, consider the sun angle and how it changes from autumn through spring. In warm climates, a good micro climate in the autumn may become too warm in the later part of spring. Conversely, as spring approaches the growing location may lose the direct sun from tall trees that have grown back their foliage. Be sure to pay attention to these often overlooked variables.
Give the individual plants sufficient space but not too much. Provide enough space so that they are not competing with one another and close enough so that they can shield one another from excess cold/heat/ and other stressors. The garlic bed itself needs enough space so that nearby plants are not competing for nutrients and sunlight.
Lastly, garlic does not like wet roots. Getting the watering correct is probably what makes and breaks plantings and harvests. Garlic does best with a moderate amount of water.
Before I continue and go over the remaining keys to growing garlic,
I want to remind you that this is an overview.
My goal is to fill in the details as I go along.
Make a mental note of any questions you may have
and see if they get answered.
Soil
Your ideal soil recipe needs to be well draining, high in nutrients, holds nutrients well, and releases nutrients over an 8 month period. The more of the soil is right from the start, the less there is to do in the way of adjustments later on. Keep an eye on annual rain forecasts. For example, at present we have a very wet winter forecast. That means that we will change our soil recipe and make the soil drain better or build up the soil to be more elevated for better drainage. Conversely, in a dry year, we want to make our soil hold onto water more.
Planting
In cold climates garlic is planted before the ground freezes and this is usually by October. We follow suit in warm climates.
Plant with the largest cloves.
In warm climates, cover them with two inches of soil. In cold climates, cover with 4 inches of soil and straw to insult the cloves and sprouts from frost. Water well.
Lastly and importantly, PROTECT THE GARLIC BED FROM CRITTERS! Garlic roots are very sensitive and when a critter digs out the garlic plant at any stage, that garlic plant is done for! For growers in areas where animals chew at roots, bulbs, and tops, do consider additional security measures.
Plant Care (Very Subjective)
You have the soil set up, the garlic planted and protected. It has sprouted and you’re excited to see the green tips in your garlic bed. From this point until harvest you have 8 months to monitor and make adjustments to keep the garlic plants happy.
The watering process is very subjective. How much water is “a moderate amount?” It all depends on your analysis of the environmentals. How much rain was there, how warm/cold has it been, when was the last time you watered, how much did you water, how draining is your soil? In my experience with my soil recipe and climate, monthly watering is ideal. Excess water leads to root rot and rust.
Furthermore, water delivers nutrients from the surface to the root zone. Watering is an opportunity to deliver nutrients to the root zone. However, excess water can leach the nutrients. In a wet climate where well draining soil is necessary, consider liquid feeding your plants once a week. For all growers, a monthly liquid feeding is an insurance policy against nutrient depleted soil.
Top dress with compost (prior to watering) in January and February as it is, again, is a good way to feed the garlic plants. In my warm climate, top dressing helps keep the garlic base cool when seasonal temperatures creep up.
This concludes the overview/keys to growing garlic. Let’s plant some garlic together to see these keys in action.
Coastal Plain
I live and grow in Southern California. More specifically on the Los Angeles Coastal Plain near Downtown LA. I combine the homestead mentality with regenerative practices to grow with as little off site input as possible. Water is one such input. Today I am planting our year’s crop of garlic hours ahead of a rain storm.
But first I’ll need to harvest another type of input, compost. This black gold lies underneath our kinetic composting path. Section by section I peel back the path, harvest the compost, lay additional chunkier brown-waste at the bottom for a “wood chipping” effect. I then cover with softer green-waste to fill in the gaps to make the path easier to walk on. When done, I will have compost to amend our clay soil.
In an arid climate, clay does wonders to hold water and thus nutrients. However, if it stays excessively wet, clay will suffocate everything inside it. Overtime clay can become compacted.
In anticipation of a wetter year I have mixed my clay centric soil down with soil amendment; about 50/50. This amendment is essentially aged saw mill / lumber waste. It’ll lighten the clay while also providing a source of slow release of nutrients.
To this soil mix I am adding about 1/8th as much compost. This compost contains material broken down through the bacteria decomposition process as well as the digestive process of bugs and grubs. It adds available nutrients, microbes, and aerating qualities to the soil. The addition of this type of compost gives our soil loam qualities. Loam is often regarded as the best kind of soil for most crops.
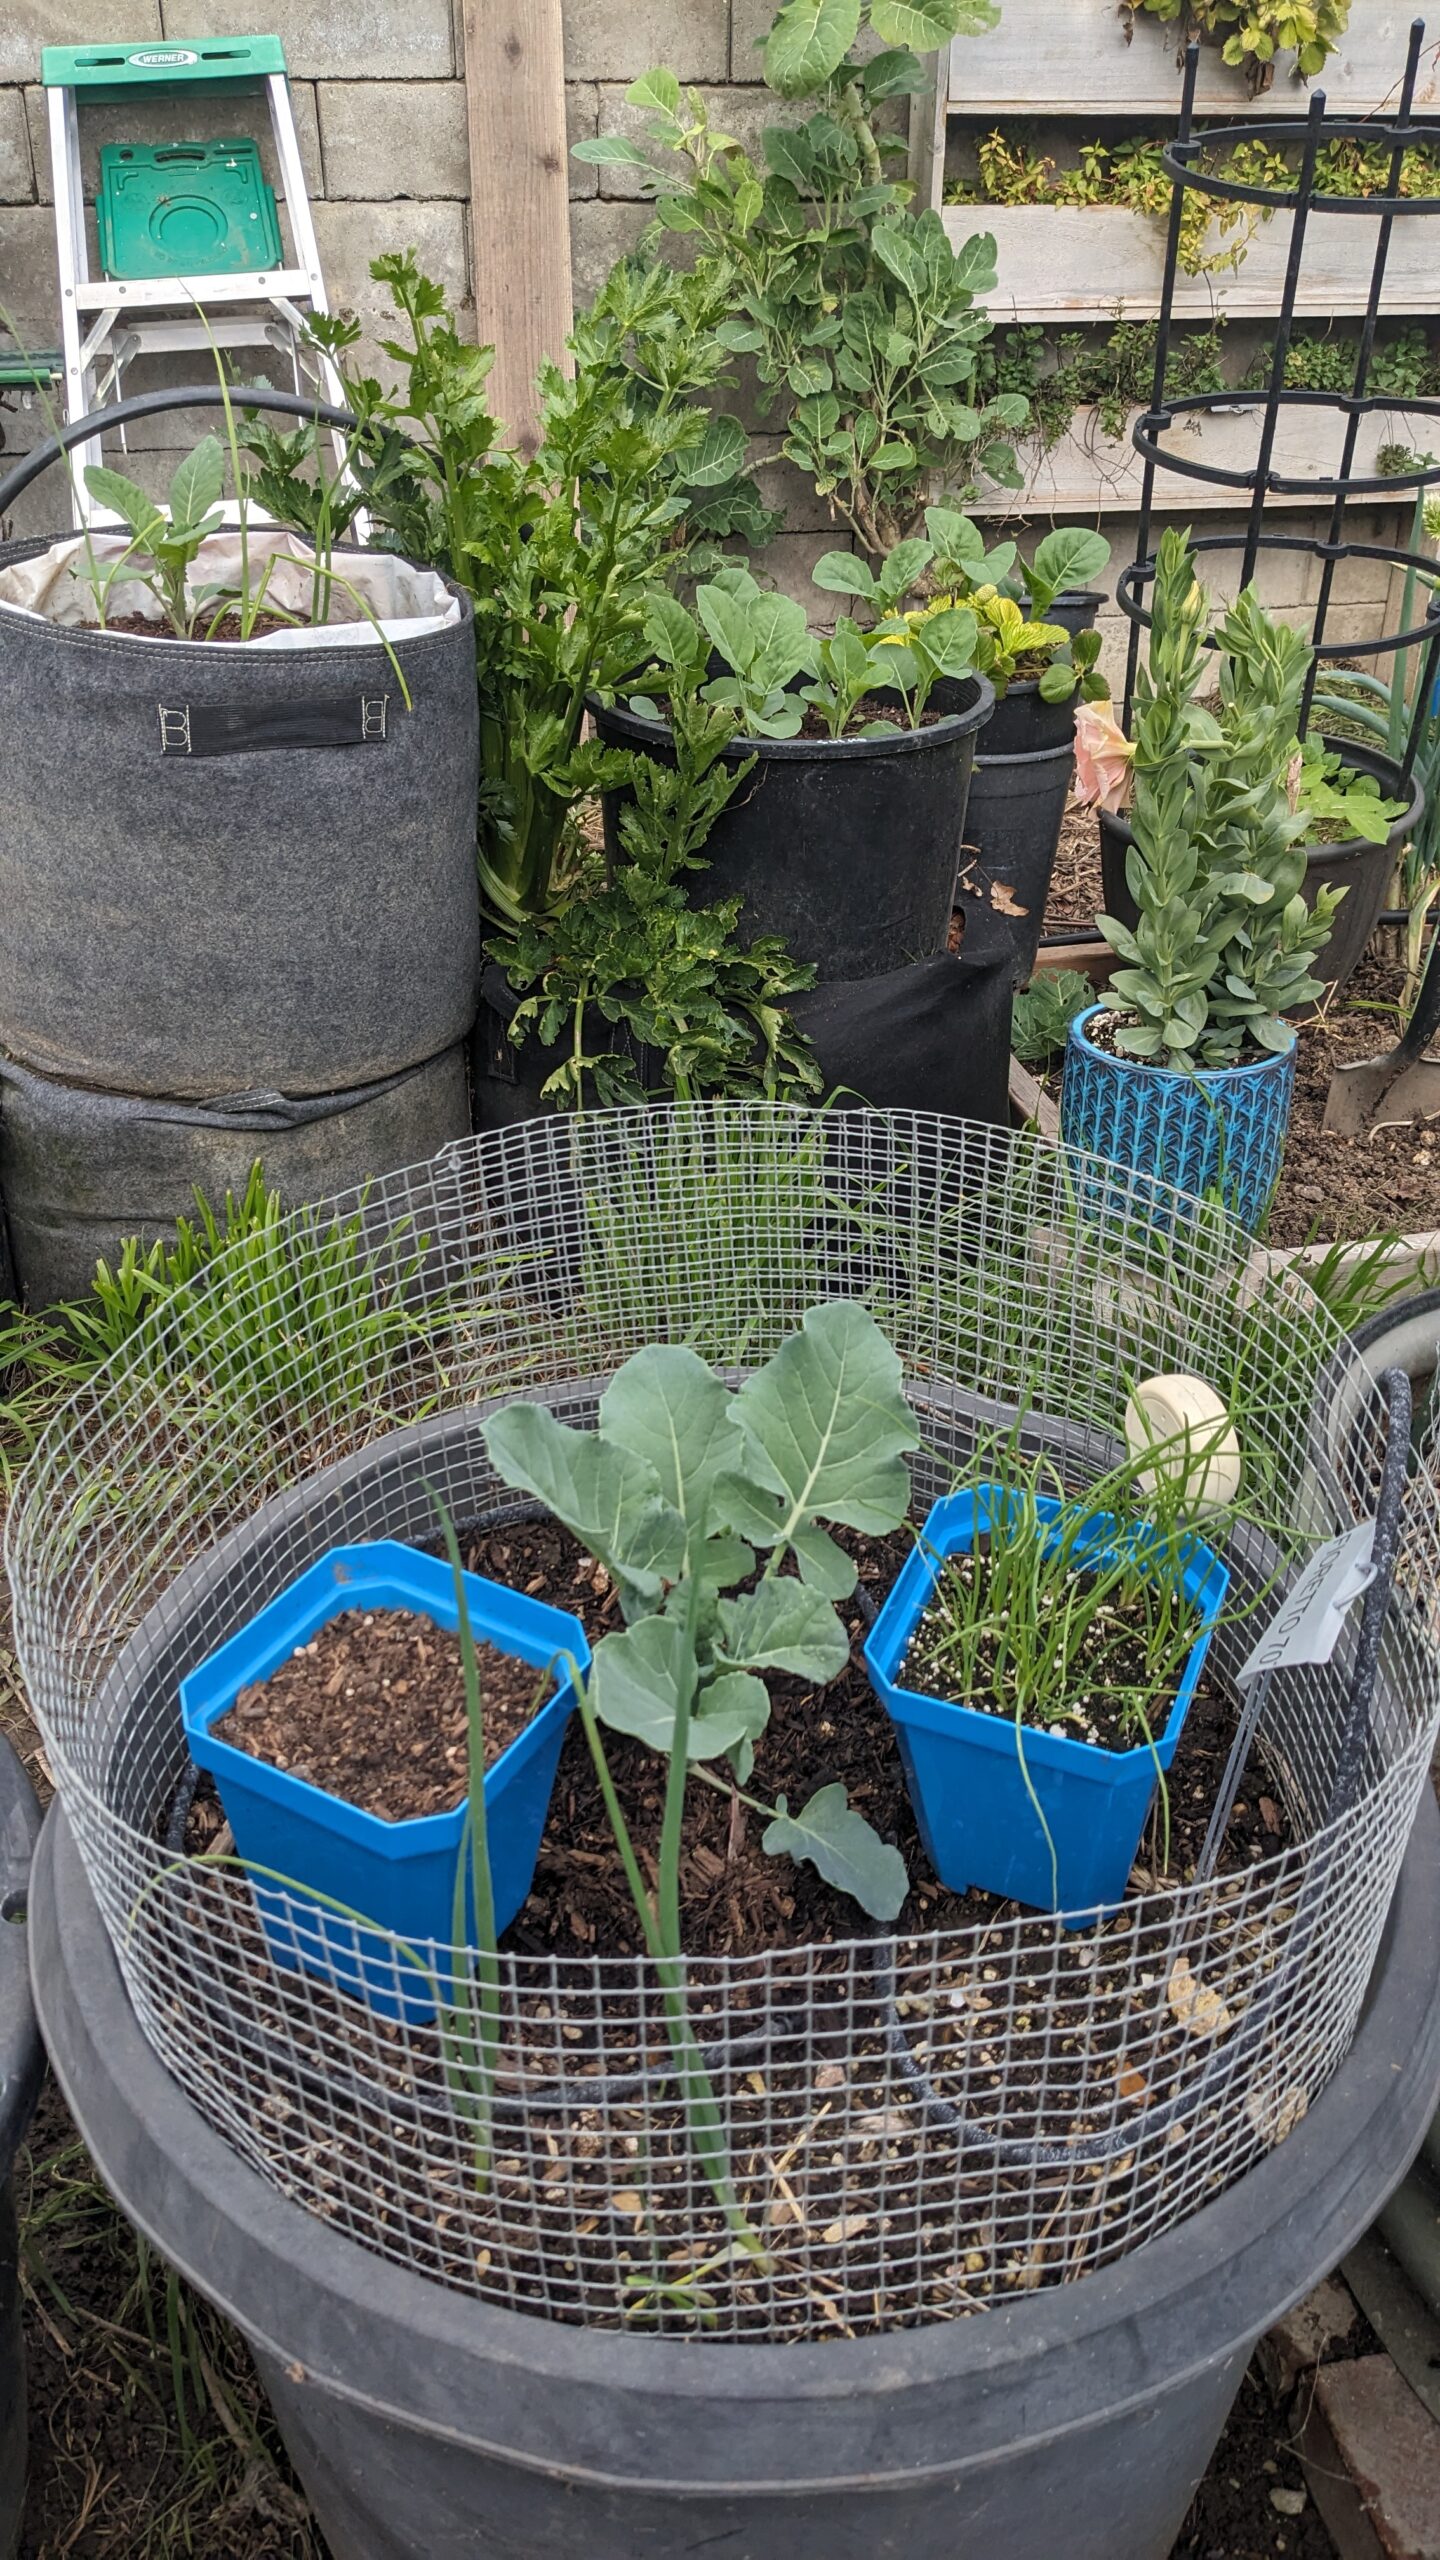
The first garlic variety to plant is ‘Chesnok Red.’ With the forecast of a wet winter once again on my mind, I am hedging my planting by planting some in containers. If it gets super duper wet, I hope that containers will drain well via gravity. When it comes time to plant, it is my belief that the ideal spacing is the roughly width of the head of garlic. Here I illustrate the plant spacing with the head of garlic. I am also giving the plants a little more space because they are in a container.
So far we have our “wet year” soil mix in our container and a general spacing worked out. We are now ready to separate the cloves to plant. Select the large cloves for planting. In handling the cloves, pay attention to any cloves that feel soft. Inspect any soft cloves for rot or dehydrated dead cloves. Set aside the small cloves for planting as green garlic or to use in the kitchen.
Chesnok Red has a special place in my gardening history. I have worked with ‘Chesnok Red’ in Southern California for over 15 years. It was a curiosity of mine to find out if it is possible to grow hardnecks in my warm climate. As it turned out, this hardneck variety can produce a harvest where winters are mild. That is with a little finesse like pre-chilling the bulbs for a couple of weeks and making sure everything is right for them. Other gardeners have since discovered that it is possible to grow this hardneck pretty much anywhere. For this reason ‘Chesnok Red’ has become a popular variety and you’ve probably heard of it.
In addition to pre-chilling or stratifying the garlic, we need to plant them shallow. Lightly covering the cloves will better give them exposure to however much cold our climate can provide. First I go in with some compost, then some Espoma Hollytone amendment, and for good measure and optional– crab meal. Finally I mulch with the Kellogg Garden Garden Soil and put a tag. All in all, this is about two inches covering our cloves. With a good amount of rain on the way, I’ll wait for the rain to water everything in. From this head of garlic, I have one additional plantable clove and three smaller cloves for growing as green garlic.
Let’s plant some more garlic together. Next we will be planting ‘Thai Fire.’ When you have multiple heads of garlic to work with, separate the cloves up front and sort out the plantable cloves. This is 1/2 a pound of garlic in this bag. ‘Thai Fire’ is another hardneck variety. I found that ‘Thai Fire’ is quite tolerant of mild climates like ours. The harvest is usually very reliable. Unless you happen to change up where you plant and put them near a plant that you did not know has very aggressive roots. That is how I lost my Filaree Farm strain of ‘Thai Fire.’ Filaree Farm did not have them up for sale this year. There are not many vendors that carry this variety. Luckily I was able to find this variety and I am working with a strain sold by Burpee Garden. I have 10 planted per container and two containers worth.
Next up another hardneck– Spanish Roja. We have 3 bulbs to plant. Same process. Separate the cloves and space according to the bulb size. You may have noticed that there is quite a bit of difference between the brim of these containers and the soil level. I have the soil level deep enough for the long garlic roots. The leftover space is so that I can backfill the container later on with compost. Again this shallow planting is to expose our seed garlic to as much cold as we can get from our mild winter climate. But as the temperature warms up in the spring, I will want the backfill to help protect the garlic base from the warmth.
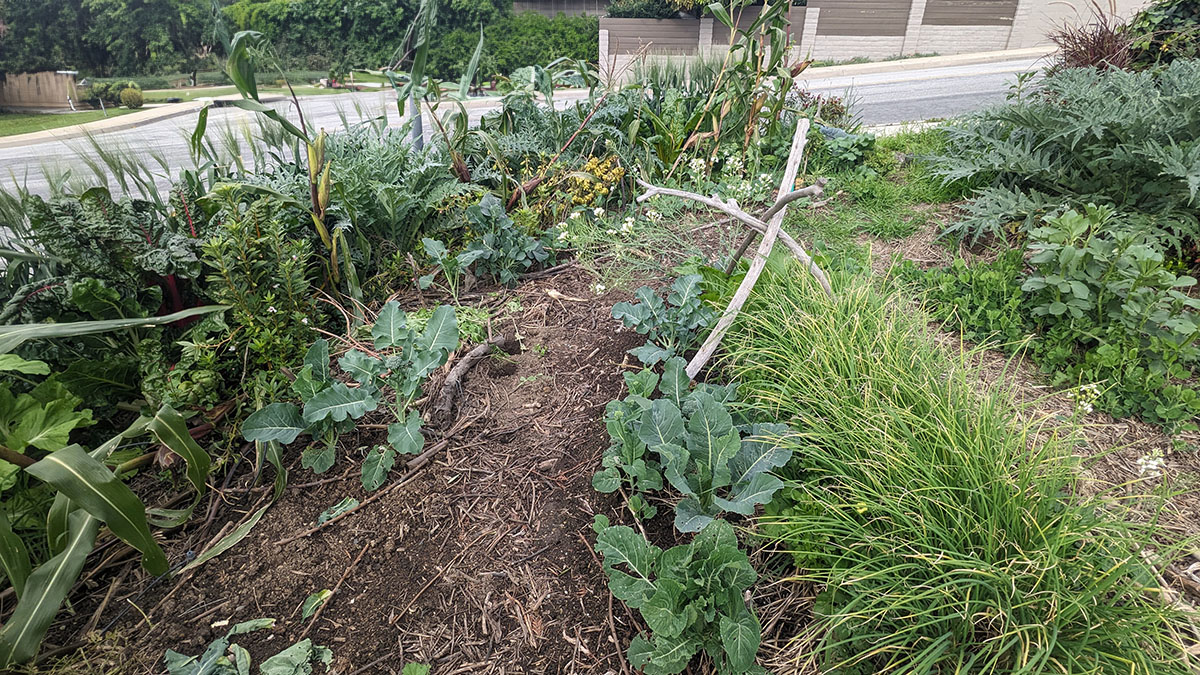
Now let’s do some in-the-ground garlic planting. We have a sunny spot in the front of the house and it is elevated for better drainage. We’ll bring out some compost and amendment. As we dig in this spot, I will be highlighting regenerative principles. First, pay attention to the soil structure when it is almost dried– it is lumpy, it is clumpy, and it is holey. Second, pay attention to how deep my shovel goes. It goes no more than 4 inches into the soil.
When working an existing bed for planting, I only want to work to the depth where the bulk of the roots will grow. Furthermore, we want to preserve as many of the earthworm made tunnels as possible. When dug up, these tunnels appear as holes in the clumps of soil. These tunnels allow for better flow of water, nutrients, and air deeper into the soil column. We therefore do not want to disturb more than we need to. This is the gist of “no till gardening.” Side note: You may have noticed that there are dry areas in this space. That is because I let spots go fallow to save on irrigation. In these instances, if I had some light mulch handy, a 4-6 inch thick mulching would have better preserved the surface moisture of the soil. The best I had was a couple of balsam (flower) plants finishing their life cycle as living mulch.
After breaking the soil with the shovel, I will go in with hands to break up the clumps then work in some Kellogg Garden soil amendment and our compost. Before planting we dust in some Espoma Hollytone and crab meal. Here we are planting ‘Romanian Red.’ This is a big garlic variety and we’ll space them accordingly. Next, we plant our remaining good-sized ‘Chesnok Red.’ We are also planting 3 small cloves. They are small but maybe just big enough to eke out half-sized bulbs? If not, we’ll harvest them as green garlic.
Same process as with the containers, I top dress with compost and garden soil amendment; covering the garlic cloves with about two inches. Off camera I planted the rest of the ‘Thai Fire’ in this section. In this section of the garden, the soil was left fallow. In this adjacent section there is adequate moisture, the soil is nice and soft. That is because this adjacent section had plants actively growing and was irrigated. Off camera I planted the rest of the ‘Spanish Roja.’
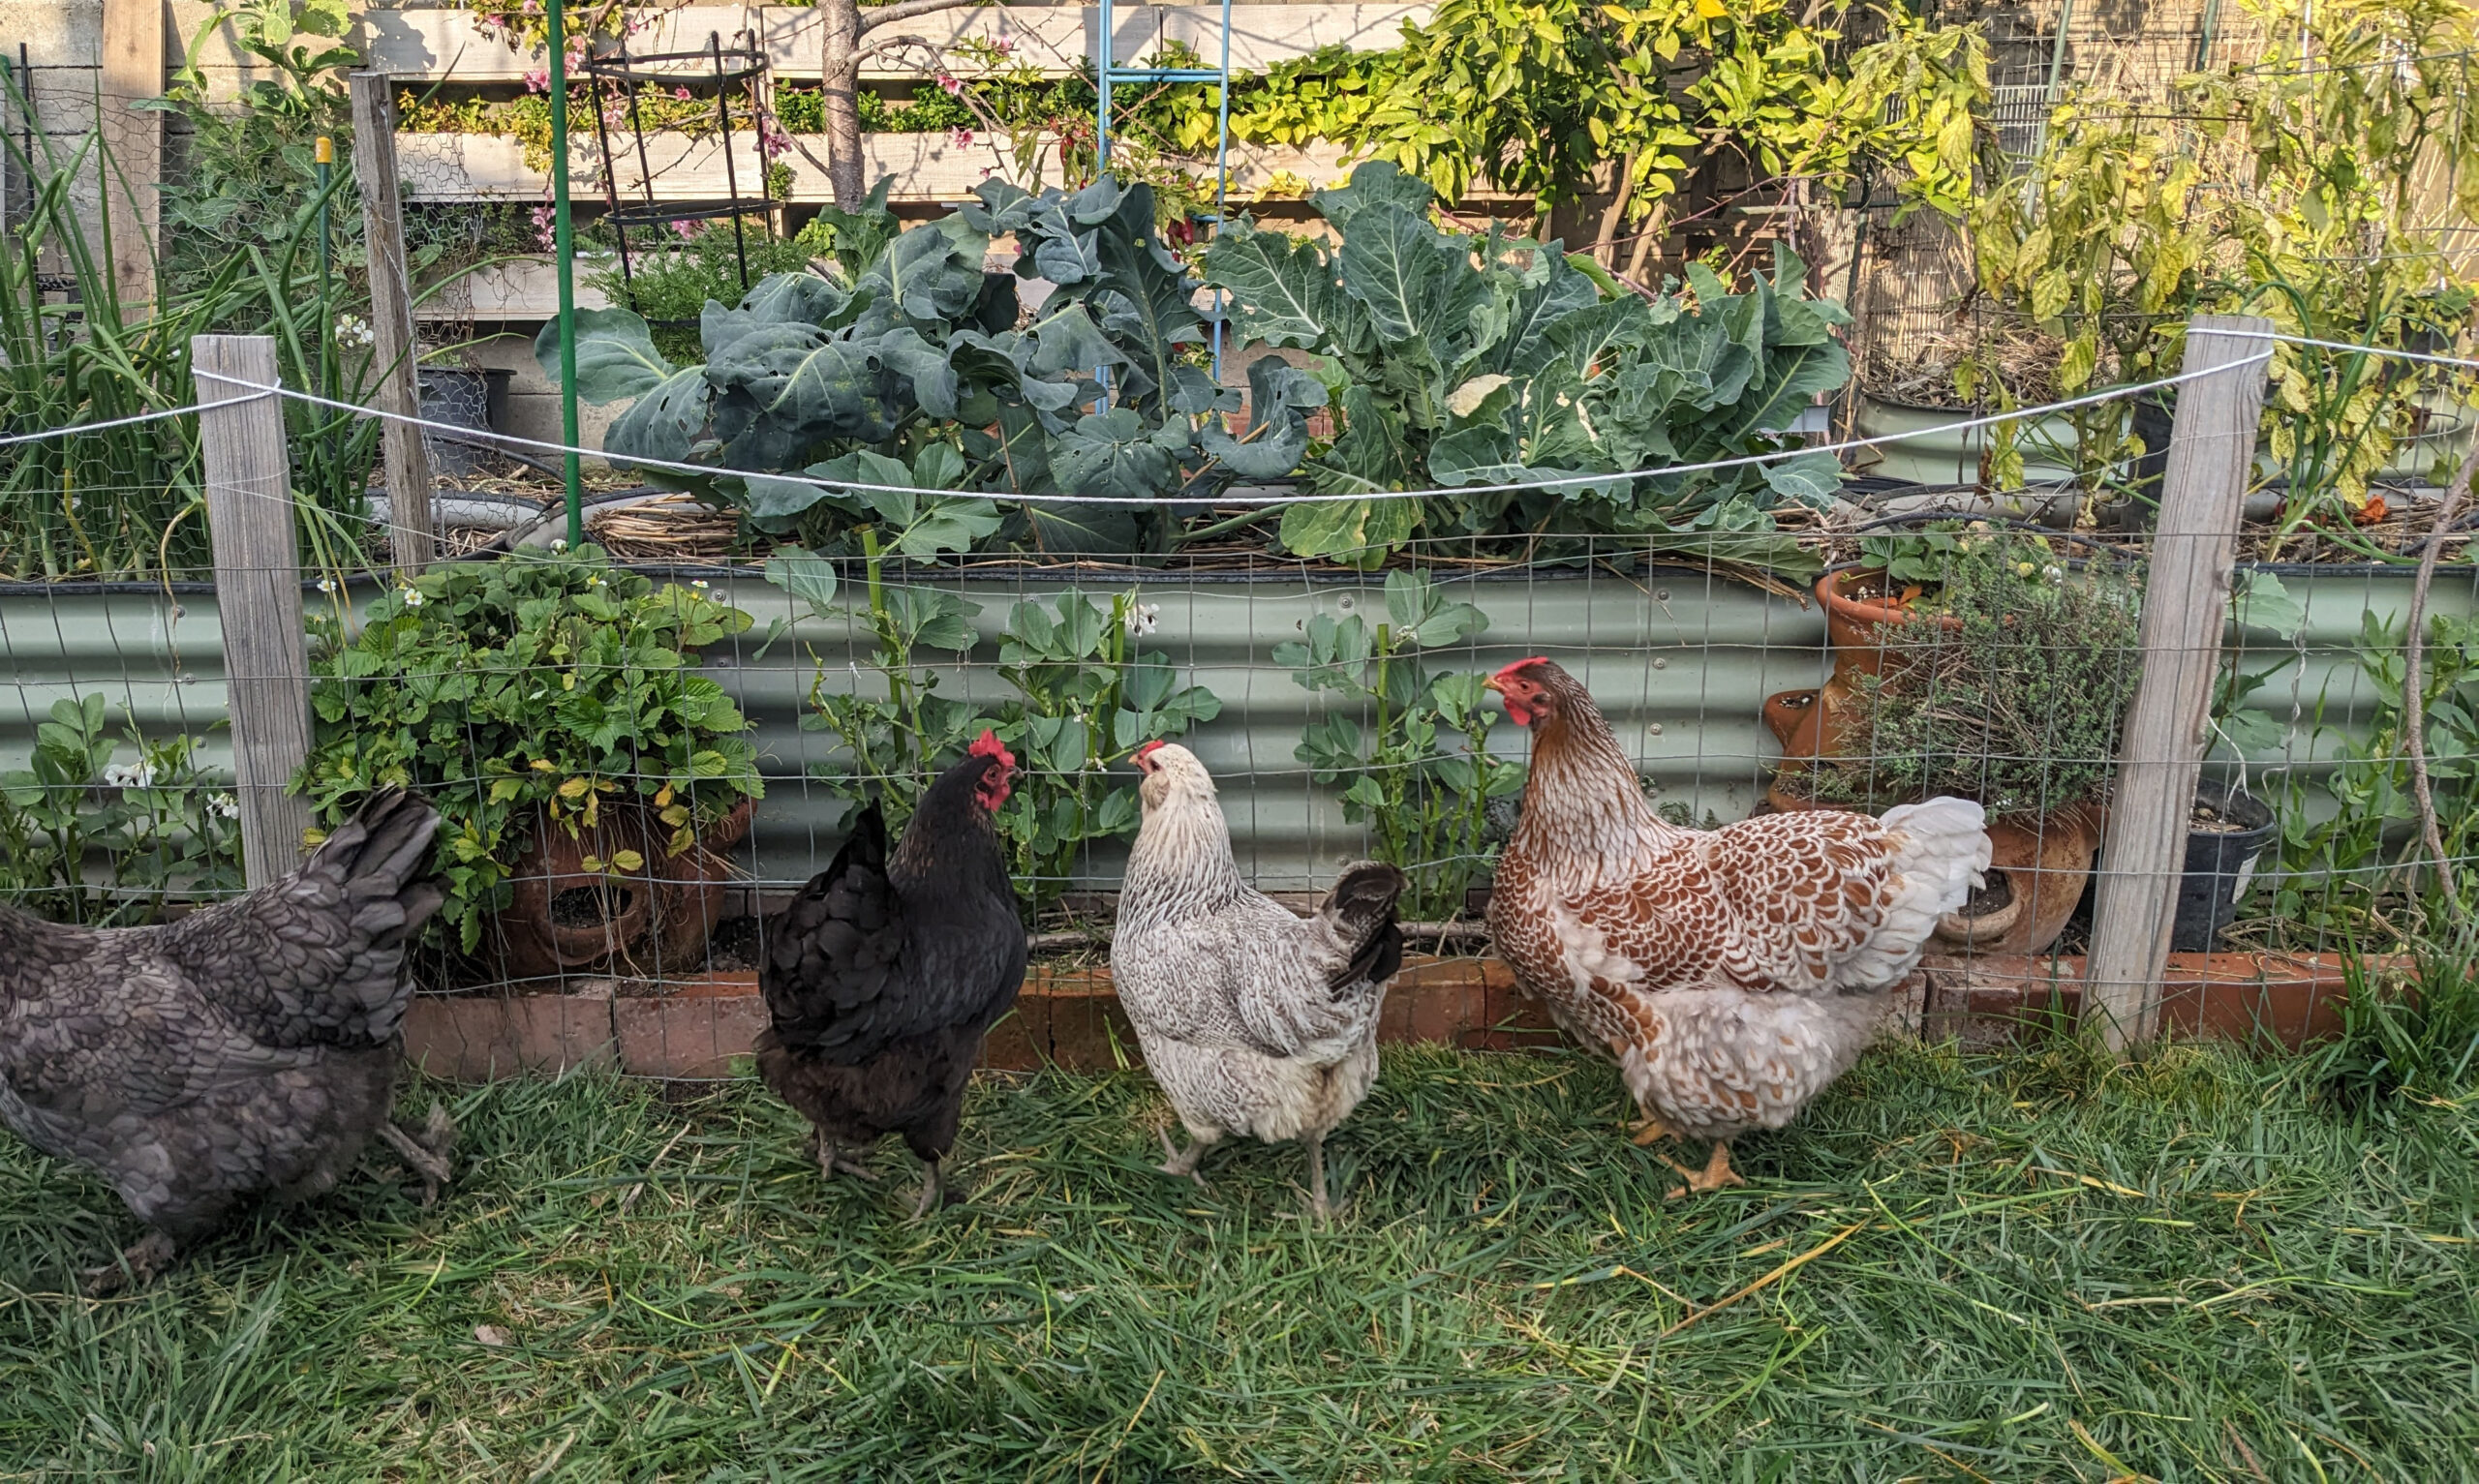
Aside from watering, the final step is to physically protect our planted garlic. Garlic puts out deep roots and they need every bit of it to suck up the nutrients needed to form a bulb. It’s over for the harvest the moment the deep roots are severed. As innocent as it may be, critters digging up a bed to look for worms and grubs will oftentimes dig out the garlic in the process. This low fencing helps our chances.
If you have been wondering when I will get to the “green garlic” you heard about earlier, now is the time. We’ve finished planting our garlic. With the leftover small cloves we can think about planting these as well for green garlic. The cloves that are too small to plant for a worthwhile garlic head harvest are perfect to plant for green garlic. These cloves can be planted densely (as close as an inch apart.)
Green garlic is a kitchen ingredient. One common use by the Teochew is the flavoring of glutinous rice with chopped green garlic. The entire plant is harvested when they reach about 8 to 12 inches. They are great as long as the stalks are tender. If they get too far along, they can be slow cooked like leeks to break down the fibers. They have a bright but strong garlic flavor so a little goes a long way.
Alright! This is my garlic planting and growing guide in action. All the garlic have been planted, some have been protected, and now we wait for the impending rain to water the cloves in. Be sure to check back to see how our garlic crop is doing. Thank you for watching. I wish you lots of success with your plantings.